Defect Detection
Quality, assured.
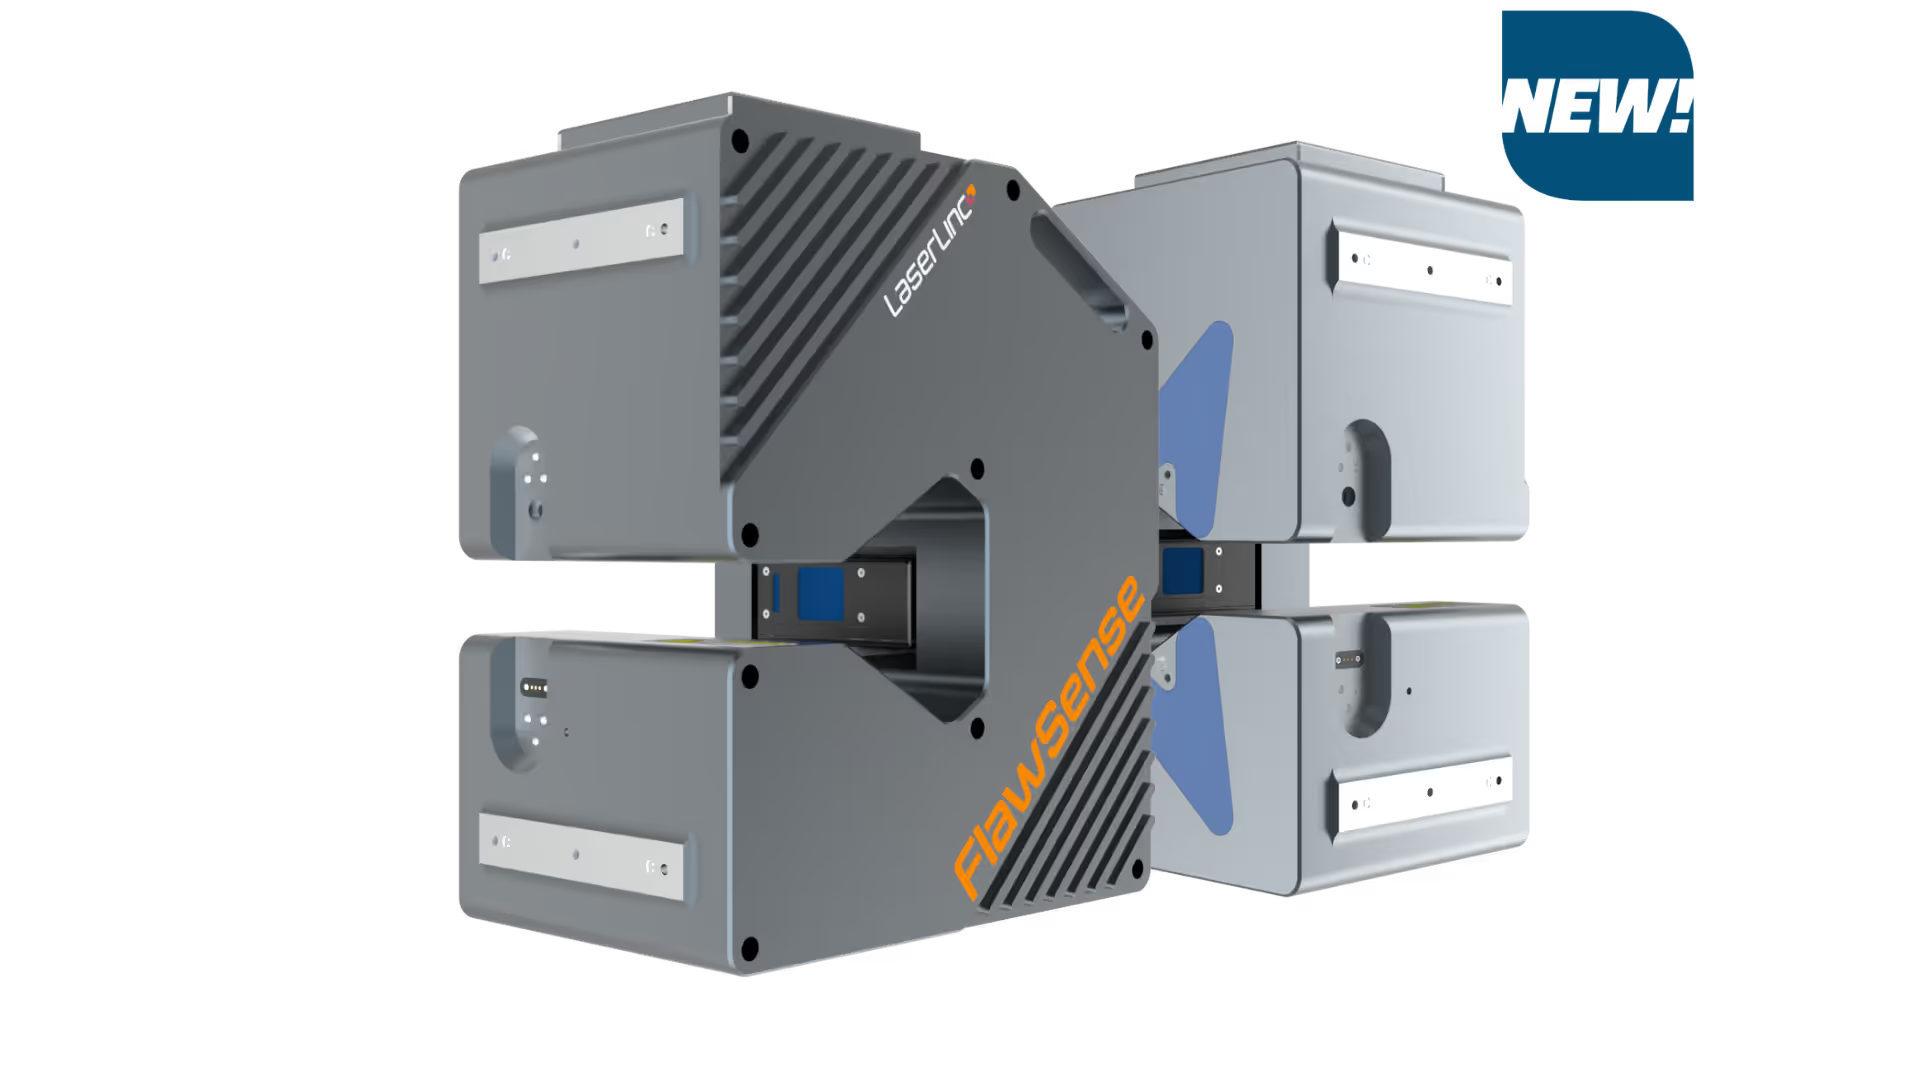

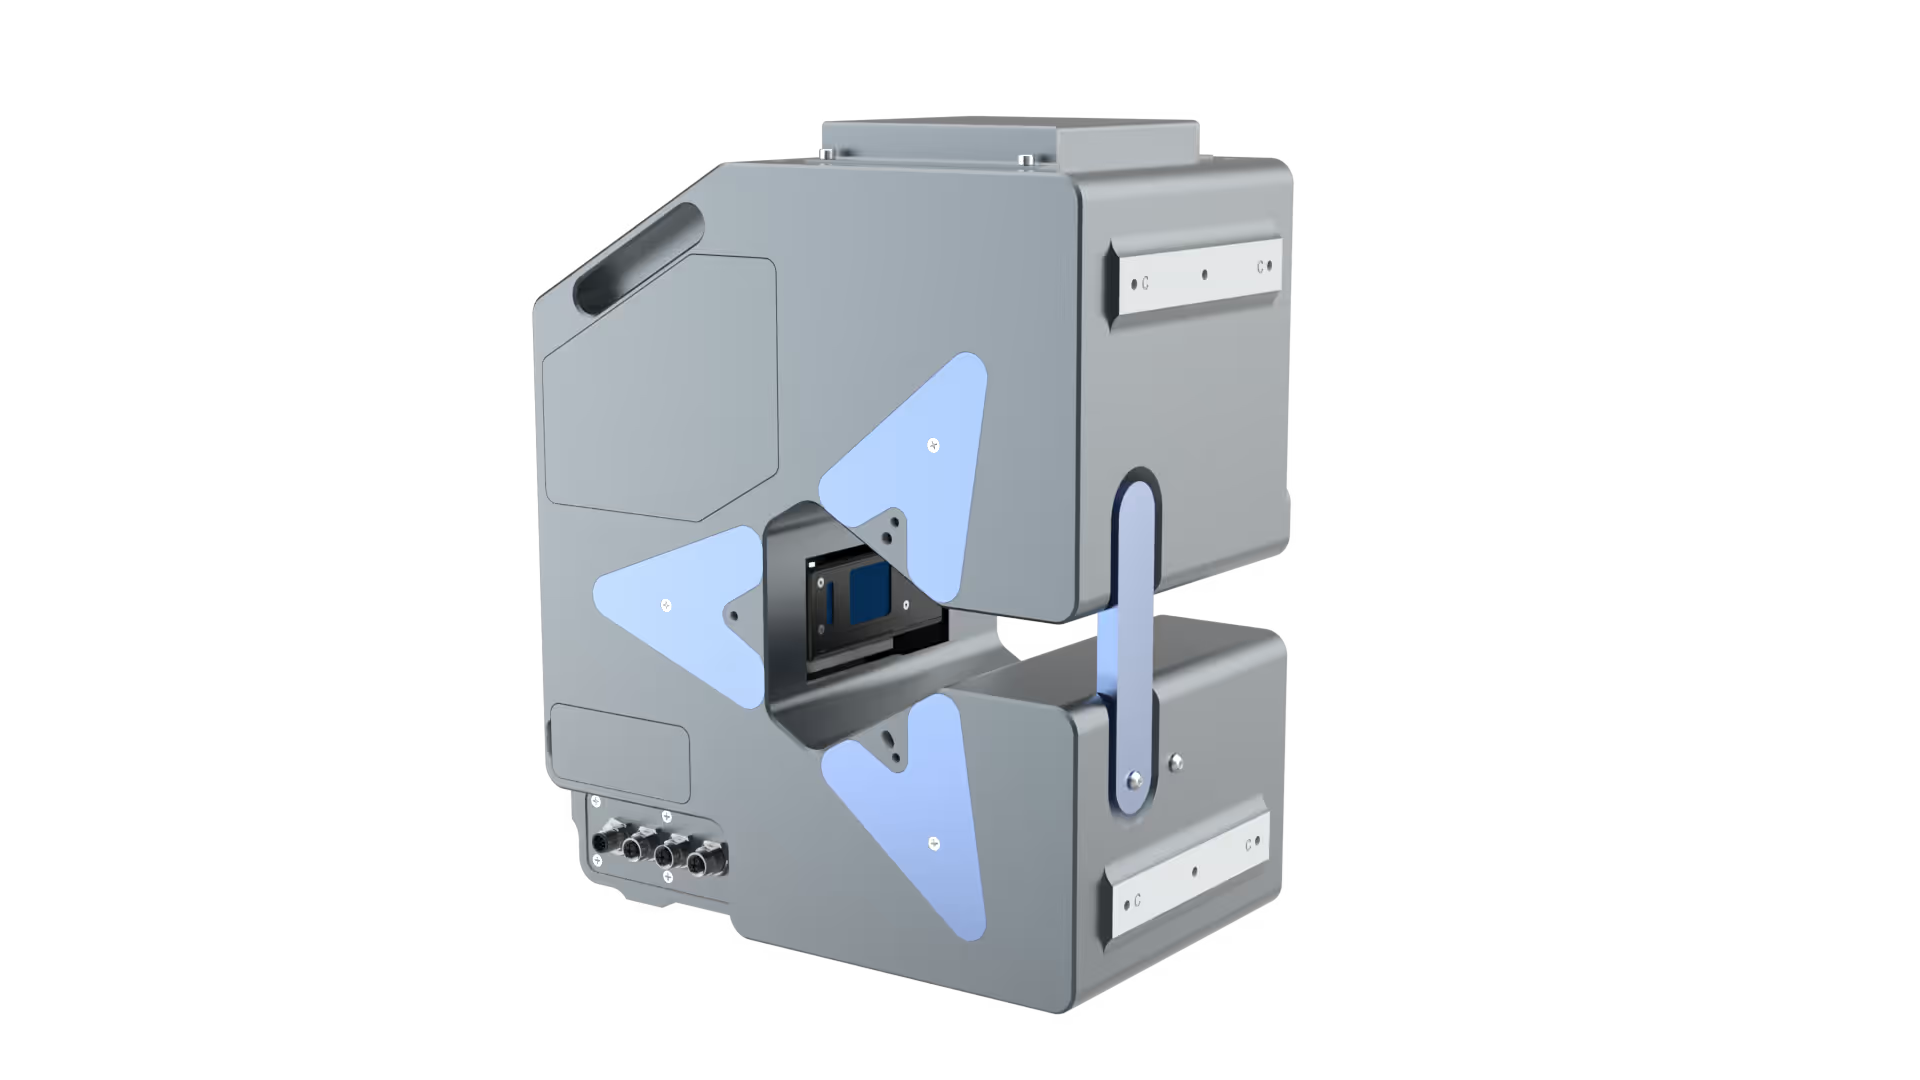
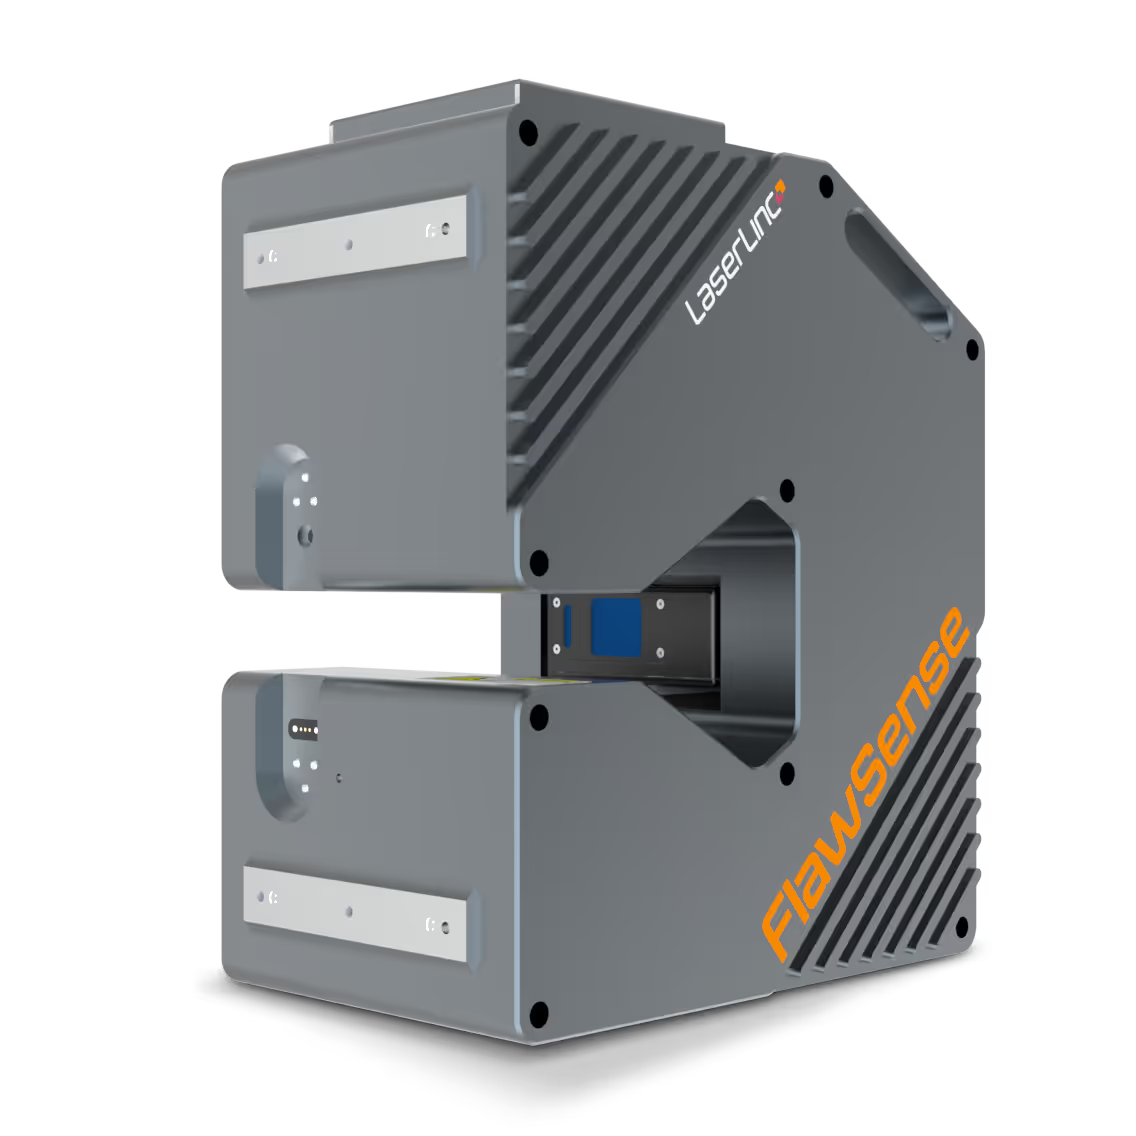
FlawSense re-imagined.
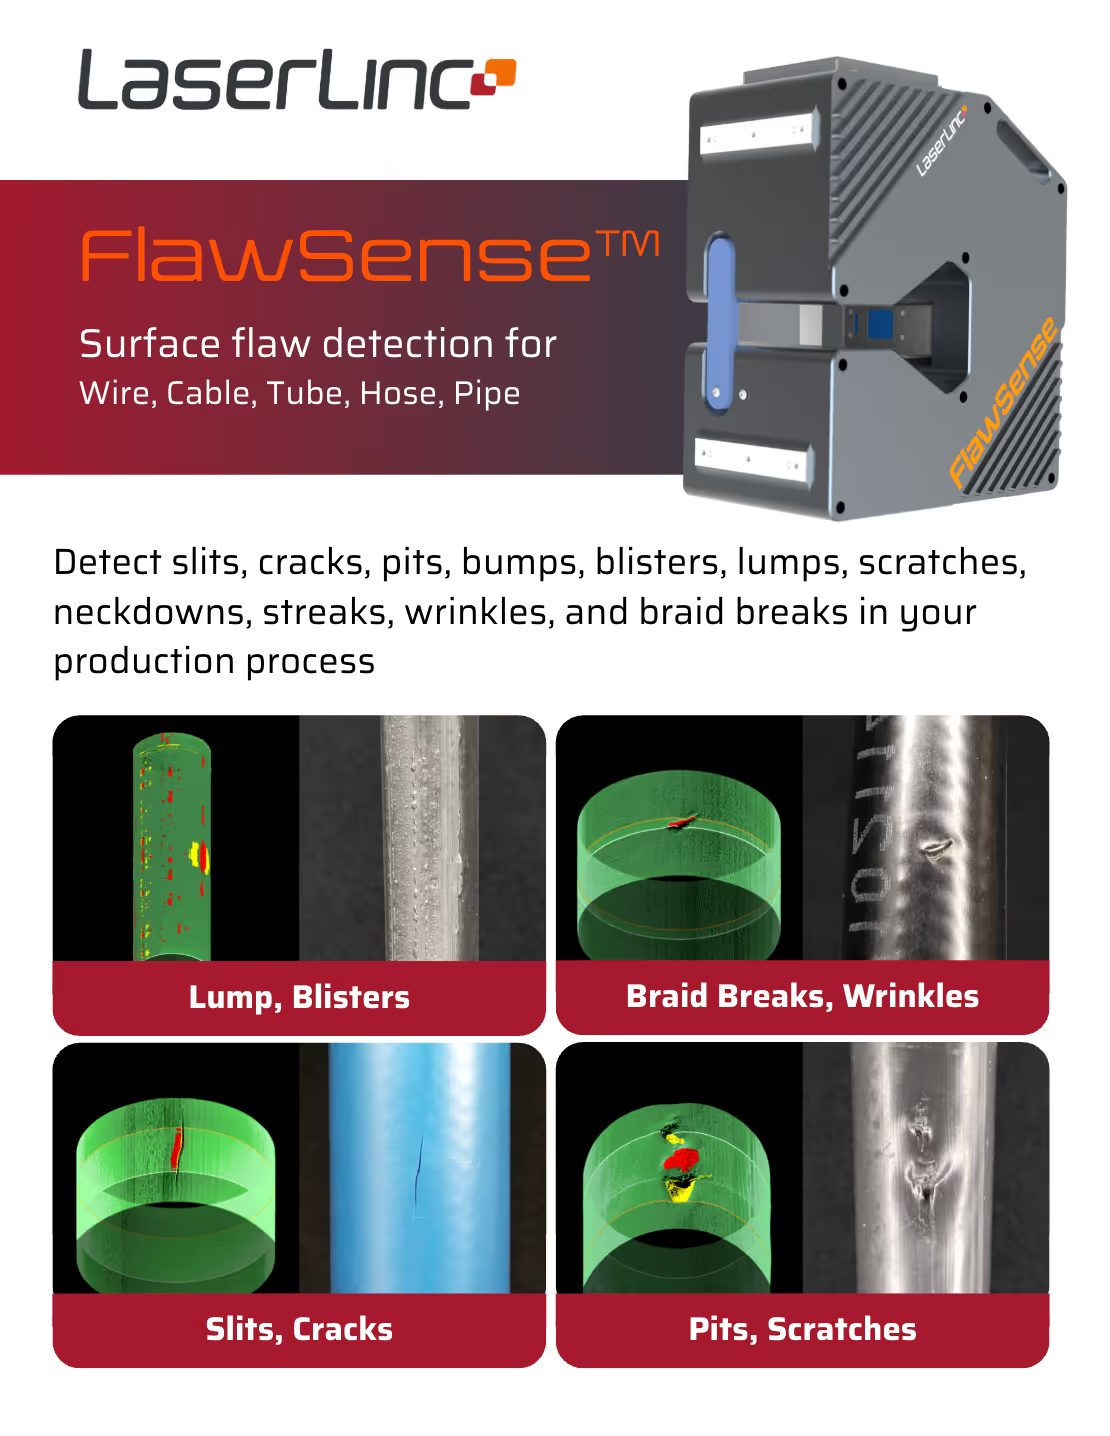
When surface quality matters most, LaserLinc’s next-generation FlawSense™ system delivers consistent, reliable detection of pits, cracks, scratches, blisters, wrinkles, and other surface defects at production speeds. You will be wowed by its in-process upstream payoff and post-process quality control.
A FlawSense system measures 100 percent of your product's surface. Other technologies are limited by shape error, orientation-dependent results, blind spots, and inconsistent lighting and reliance on contrast.
If its performance doesn’t say “Wow!” to you, the VuMetrics™ 3D interactive flaw viewer for visualizing identified defects will. Immediately see defect location, shape, and severity using a clear, operator-friendly interface.
Trusted in Production, Confidence in Detection.
Unmatched Performance
"FlawSense is an improvement! An innovation in detecting defects on the surface, and I swear by it."
Precision beyond vision.
Measure diameter, using the definition that matters for your application. Measure true ovality regardless of orientation. A FlawSense system does these for you at production speeds, with unmatched precision.
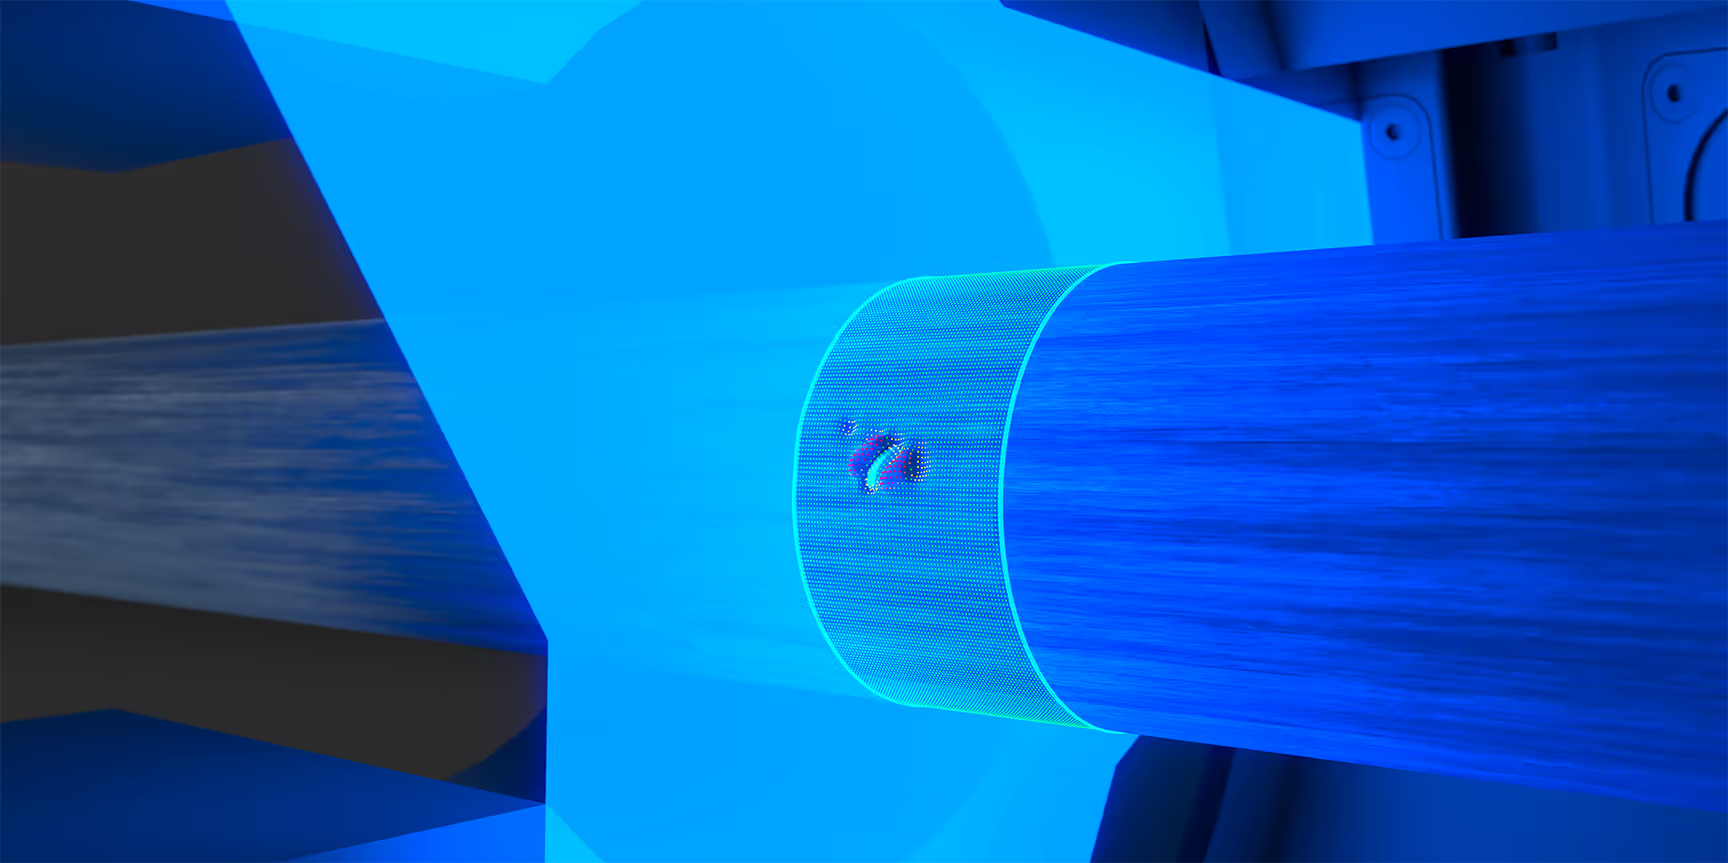
Vision systems take a small number of pictures around the product. They infer surface condition from lighting and contrast, and use two-point-diameter measurement. By measuring 100 percent of the surface, FlawSense laser-line triangulation technology is unaffected by lighting conditions or shape variation.
Singular ROI, empowered by our breakthrough tech
Actionable Insight
Cost Savings
Innovation in action.
Consistent by design.
Rewrite the manual.
One investment in a FlawSense system eliminates never-ending labor-intensive and error-prone manual inspection.
Measurement, redefined.
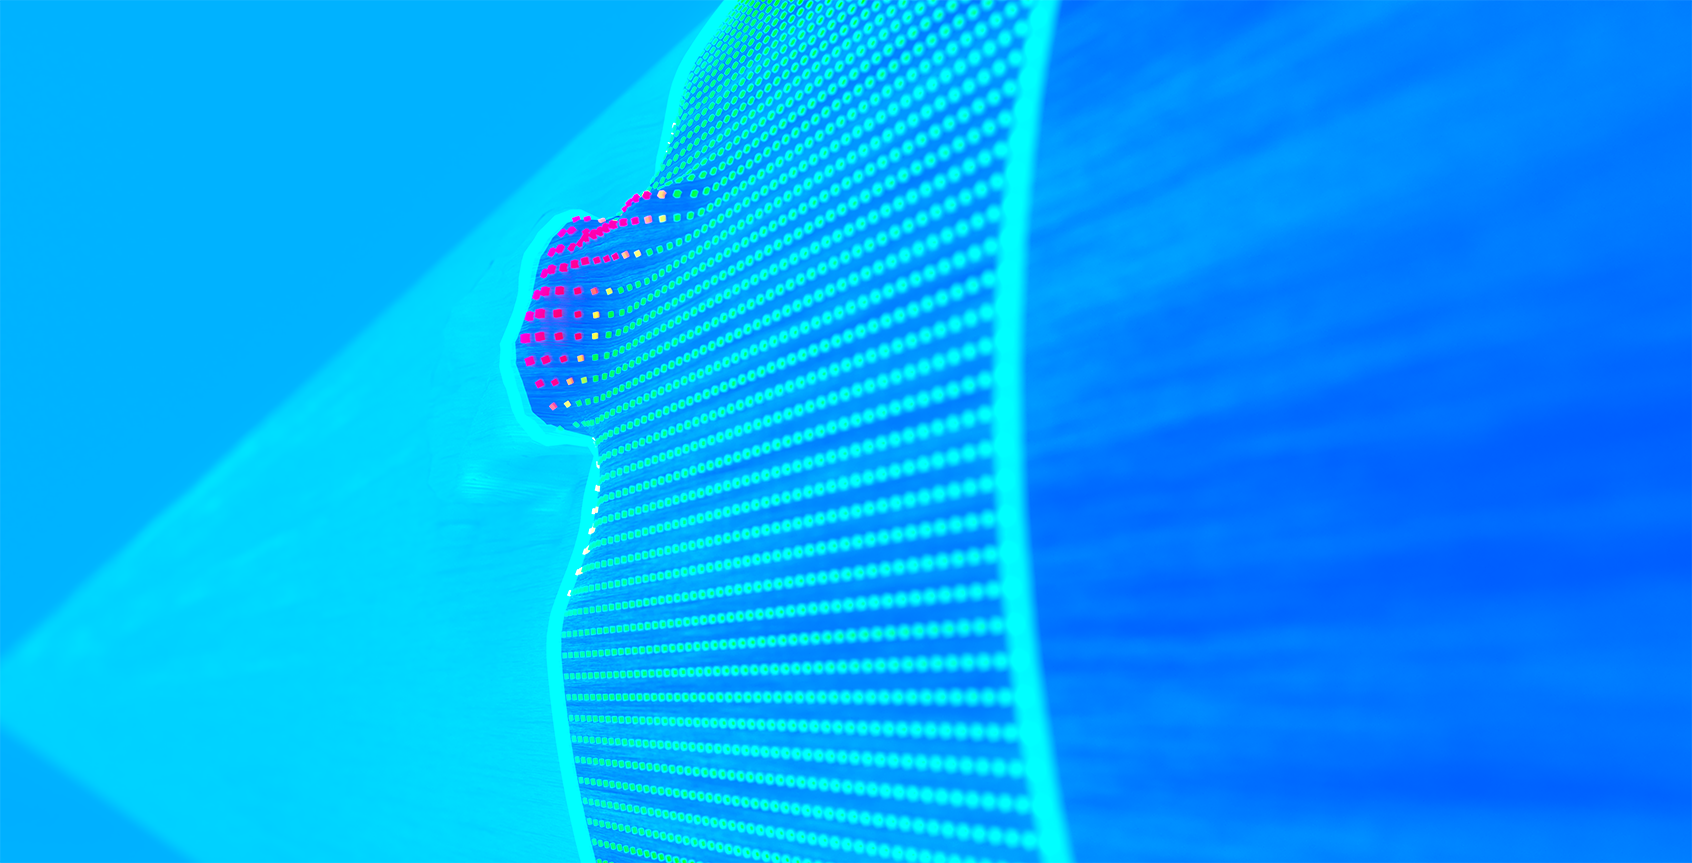
FlawSense tech measures 100 percent of the product's contour for a true surface map. Diameter and ovality are unaffected by orientation or shape error.
FlawSense Technology
